If you’re like many people who are struggling with their front load washers, you probably came here because there’s an undesirable smell coming from your unit that you’d very much like to get rid of.
People often have a “set it and forget it” mentality where washing machines are concerned. If you happen to be one of those people, there is no time like the present to learn that you should indeed be commercial cleaning your front load washer at regular intervals.
Why? Well, not only do you contribute to its running efficiency, but there are also the benefits of keeping wash loads smelling fresh and preventing mould build-up, which would likely require more than just cleaning.
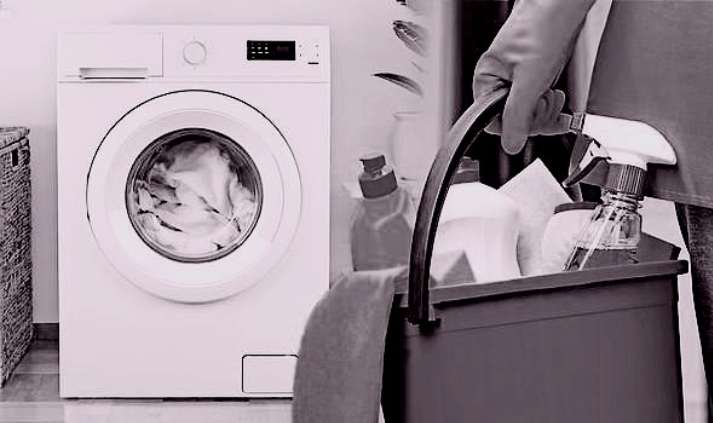
So, the idea here is to take a quick look at the seven steps of cleaning your machine, as well as some other useful insights to get you going. You don’t need any expensive equipment to get the job done and it certainly isn’t going to take too long to follow this guide!
Cleaning Steps
Before jumping into the steps, note that this process is something that you are expected to undertake once a month. If not, you make the job harder for yourself when you do take it on.
Step One – Prerequisites
There is more than one way to clean a front load washing machine, but this is certainly one of the most efficient. It’s the vinegar (distilled white) and baking soda method.
Beyond those two ingredients, you’re going to need about three or four pieces of microfiber cloth, a measuring cup, a toothbrush, and a spray bottle. Gloves are optional, but it doesn’t hurt to have them.
Step Two – Vinegar Application

What you want to do is pour your white vinegar into the spray bottle and start spraying around the inside of the drum. Afterwards, begin to wipe around with your microfiber cloth, ensuring that you get the entirety of the surface area that you can reach.
The significance of choosing white vinegar is to be able to cut through grease, water stains, as well as other forms of residue or build-up. This is likely not the first time you’ve heard of vinegar being used in a cleaning process and there’s a very good reason for that, as it’s one of nature’s almost “magical” cleaners.
Step Three – First Wiping
The first wiping procedure focuses exclusively on your rubber gaskets, which are the seals that you find around the door. They may not look like much, but beyond their sealing properties, they form quite the harbour for the build-up of the kind of stuff you don’t want in your washing machine.
This grouping includes mildew, scum, potential mould, and even hair. Don’t try to rush this process and take care to get your cloth everywhere.
Step Four – First Wash Cycle
Now, you are going to run a cycle to get things on the cleaner side. To do this, pour two cups of your white vinegar into your washing machine’s detergent area. Choose the longest cycle available and allow the machine to run using the hottest water available.
Step Five – Second Wash Cycle
Now, you are going to be repeating the previous step with a bit of a twist. Sprinkle half a cup of your baking soda into the drum for the second cycle.
Step Six – Second Wiping
Once the wash cycle is done, you are going back into wiping mode. Again, get your spray bottle and spray some of that white vinegar onto a microfiber cloth, ensuring to clean both the inside and outside of the door. You want it to get as shiny as possible.
Additionally, wipe the knobs, external surface, and control panel if you have one.
Step Seven – Drying Phase
There are two ways to allow things to dry. One is quicker but requires more effort, while the other is slower and requires no effort. The former requires you to get a dry microfiber cloth and use it to start drying all the moist areas.
Alternatively, you can simply open the machine, leave the door ajar, and let it air dry on its own.
Cleanliness Maintenance Tips
Though you are being advised to undertake this process every month, you are expected to do a bit more in between to truly maintain the cleanliness of your washer.
By taking a few easy steps whenever you use your machine, you give yourself even less work when cleaning time comes around.
First, as soon as a wash cycle is over, remove the clothes from the machine, to prevent any odours or build-up. Next, if there is any moisture on the gasket, lid, or in the drum when you are done, wipe it up as soon as possible.
In between loads when the machine is not operating, leave the door open, and allow some air to pass through the drum. Finally, pay attention to the amount of detergent you are supposed to be putting into your machine and stick to it. On that note, remove your detergent tray when done to allow it to dry.
If you follow these recommendations, your once-a-month cleaning process will look much more straightforward than it would be otherwise.
Final Remarks
The information above would have provided you with a series of easy-to-follow steps that should help you keep your front load washing machine clean, once you carry them out every month.
Additionally, you now have some very useful insights that you can put into practice every time you use your washing machine, which helps you even further to keep things clean.
One of the recurring themes that you may have noticed is that you’re being encouraged to always keep things dry.
That’s because mould, which is one of your worst enemies in a washing machine, requires moisture to grow and thrive. By drying various areas, you make them less inhabitable for mould, which not only makes cleaning easier but also contributes to the longevity and functionality of your machine.
With all this useful information, you should never find yourself overwhelmed by a filthy machine again, assuming it has happened before.
About the Author
Amelia Annand
Hi, my name is Amelia. I am a commercial cleaning operations manager at Clean Group Sydney. My duties include handling customer support responsibilities and I manage a team of 10+ fully trained support professionals. Besides managing a team of experts and maintaining communication between clients and cleaners’ teams, I handle customers’ complaints and grievances, especially the ones that need special or immediate attention. If you need help sorting out the best cleaning for you or have a complaint, feel free to connect.
Read More About Amelia